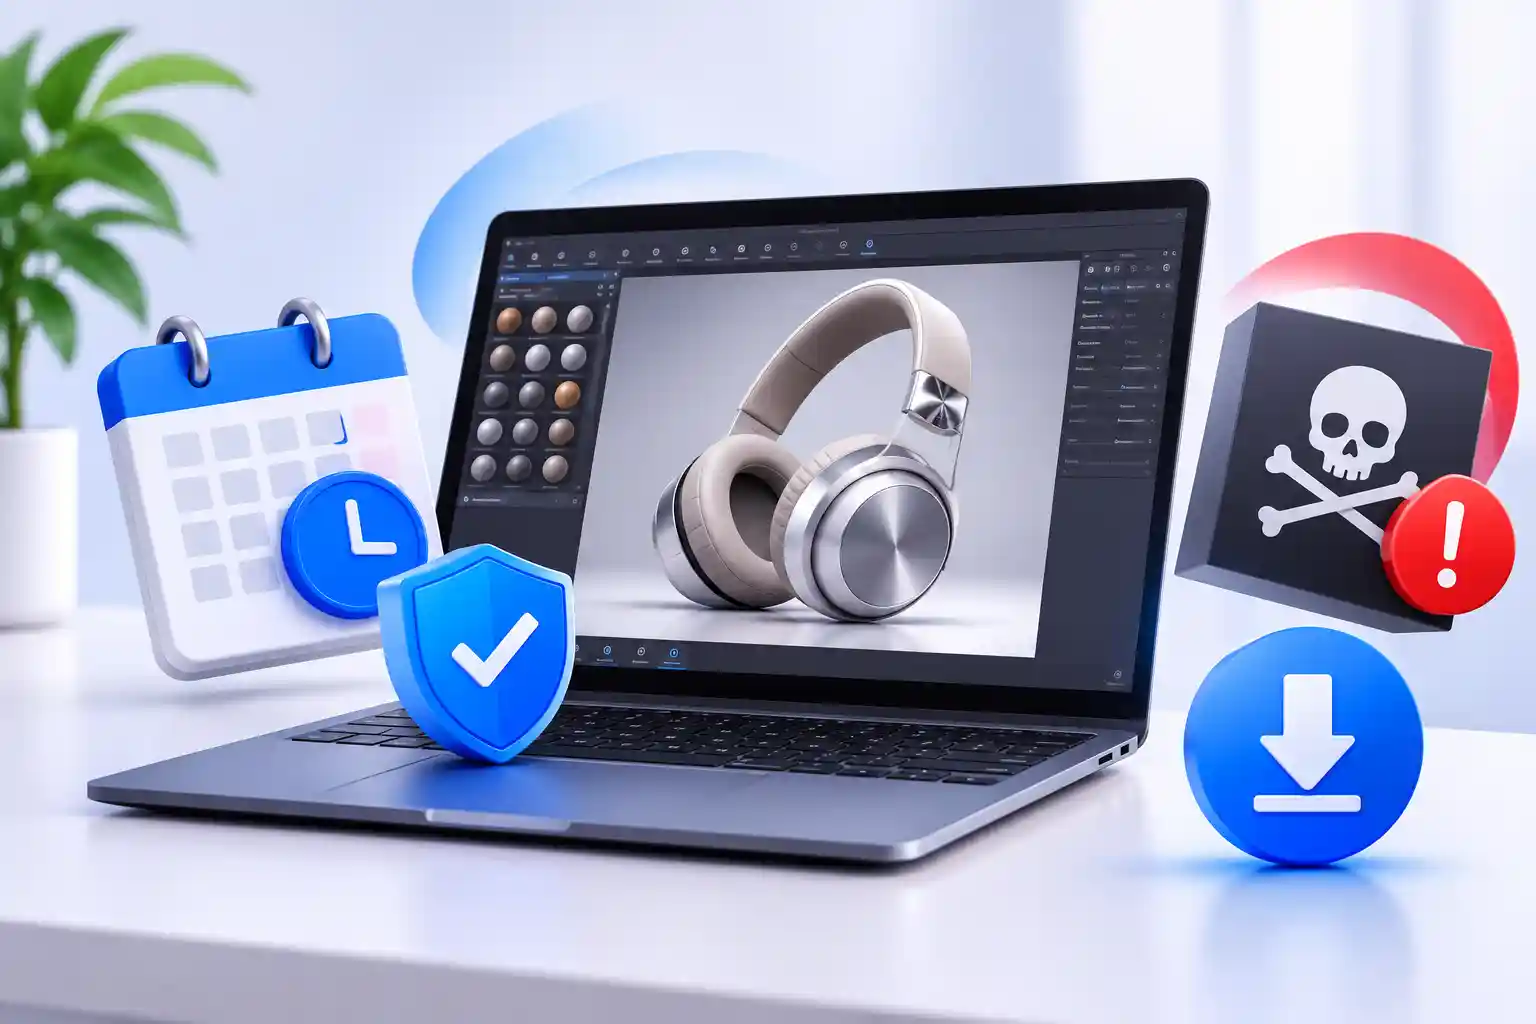
KeyShot is not free, but you can download KeyShot Studio from the manufacturer and use it free for 14 days. Trial renders carry a watermark, and saving scenes, background rendering and the rendering queue are disabled. After the trial, KeyShot Studio is licensed by subscription in Professional, Business and Enterprise plans.
People who search for “keyshot download” or “is keyshot free” are usually in the same position: they have a product that needs to look good, a deadline, and a question about whether they can try the software before committing. This guide answers it directly. It explains what is and is not free, where to download KeyShot safely, what the trial includes and limits, how to run a useful 14-day evaluation, and how to choose a plan once it ends.
Is KeyShot free?
No. KeyShot Studio is commercial software sold by subscription. What is free is the official trial: 14 days to install it, load your own models and judge the results on your own hardware before you commit.
That distinction matters because “free” can mean three different things in a search. It can mean a trial from the manufacturer, which is legitimate and limited in time. It can mean an educational licence for students and teachers, which has its own conditions and is arranged with the manufacturer. Or it can mean a modified copy offered on a download site, which is neither legal nor safe. Only the first is a way to evaluate KeyShot for professional work.
The table below compares what the trial gives with what a licence gives:
| Capability | Official trial | Licensed plan |
|---|---|---|
| Real-time CPU and GPU rendering | Yes. | Yes. |
| CAD import and plugins | Yes. | Yes. |
| Material and environment library | Yes. | Yes. |
| Save scenes | Disabled. | Yes. |
| Background rendering | Disabled. | Yes. |
| Rendering queue | Disabled. | Yes. |
| Watermark on renders | Yes. | No. |
| Use for final, commercial images | No: it is an evaluation. | Yes. |
Where to download KeyShot safely
Download only from trial.keyshot.com or from an authorized partner. Cracked installers circulating online do not receive updates, often bundle malware and leave a company exposed in a license audit.
The risk is not theoretical for a design team. Rendering workstations typically hold unreleased product designs, CAD files and customer material, which is exactly what an attacker wants. A modified installer runs with the permissions of the person who installs it, and an infected machine in a design studio can expose far more than the software itself. There is also a practical cost: a copy that cannot be updated eventually stops opening files from newer CAD releases.
The official process takes a few minutes:
- Go to trial.keyshot.com. Use the manufacturer’s own site, not a mirror.
- Create a KeyShot account with your work email. The account is also what ties the trial to you.
- Download the installer for Windows or macOS. KeyShot Studio is available for both.
- Sign in inside the software to start your 14 days. The trial requires an internet connection and a signed-in KeyShot account, so install it on a machine that is online.
The official trial page is trial.keyshot.com. If your team needs a trial of a different kind than the standard one, KeyShot’s documentation says to contact its sales team or your local reseller, who can provide a trial code. That is worth knowing before day one if you need to save scenes or export without a watermark during the evaluation.
What the trial includes and what it limits
The trial is useful because it is the real software, not a reduced demo. For 14 days you can try all features except three, and you can judge the quality of the result on your own computer.
- Included: real-time CPU and GPU rendering. KeyShot’s documentation lists CPU ray tracing and GPU rendering on NVIDIA, AMD and Apple hardware, so you can test both modes on your machine.
- Included: CAD import and plugins. KeyShot Studio supports 34 3D formats, including SOLIDWORKS, CATIA, Creo, Inventor, NX, Rhino, SketchUp, Revit, STEP and OBJ, and offers plugins with live-linking for several CAD tools. Some plugins are sold separately, so check the one your team needs.
- Included: the material and environment library. Drag-and-drop materials and environments, with editing, are part of the trial.
- Included: lighting and cameras. The tools you need to build a studio-style product shot.
- Limited: renders are watermarked. Nothing rendered during the trial is suitable as a final image.
- Limited: saving scenes, background rendering and the rendering queue are off. You cannot save your work between sessions, so plan each session to produce a result you can capture, such as a screenshot or a note of the settings.
Treat the trial as an evaluation, not as a way to produce final launch images. The limits are not a flaw; they are what separate an evaluation from a free licence.
Because you cannot save, there is one habit that makes the 14 days far more productive: keep a short log. Note which model you imported, which materials you tried, how long a render took and what you would change. Those notes are the evidence you will use when someone asks whether the software is worth buying.
A 14-day evaluation plan
The most common way to waste a trial is to open the software, play with a demo scene for an afternoon and let the days run out. A better approach is to decide in advance what you need to learn and test exactly that. The plan below uses the full 14 days:
| Days | What to do | What to check |
|---|---|---|
| 1–3 | Import one real product from your CAD tool. | Scale is correct, parts and hierarchy arrive intact, and the import does not need manual repair. |
| 4–7 | Test materials and lighting against an approved reference. | You can match the look the company already accepts, and the library covers the materials you use. |
| 8–11 | Time a final-quality render on your current machine. | The render time is acceptable for your workflow, in both CPU and GPU modes where available. |
| 12–14 | Review the result with whoever signs off on product imagery. | The people who approve images accept the quality and the process. |
The first three days are about compatibility. If the model does not arrive cleanly, nothing else matters, so it is worth finding out immediately. Days four to seven are about look: a trial that cannot reproduce your company’s approved reference is a trial that fails, however good the demo scenes look. Days eight to eleven are about time, which is the number that most often surprises teams: a render that looks excellent but takes too long on your hardware changes the cost of the whole workflow.
The last three days are about people. The best software for a designer is not necessarily the best for the team that approves, publishes and maintains the images. Showing the result to the people who sign off, and listening to what they need, avoids buying a tool that works for one person and not for the process.
Before you start: prepare the 14 days
The clock runs from the moment you sign in, so a little preparation pays off. Four things are worth having ready:
- A real model. One product that your team genuinely needs to show, exported or ready to open from your CAD tool.
- A reference image. An approved render or photograph to match, so the comparison is objective.
- The right machine. The computer your team will actually use, because render time on a different machine tells you nothing.
- Time in the calendar. Block the sessions in advance, especially the one with the approver. A trial that is squeezed into spare moments rarely answers the questions it was meant to.
It also helps to decide who is evaluating. If the trial is a one-person experiment, the conclusion will be a one-person opinion. Involving a second person, ideally someone who will use the output rather than create it, makes the result much more reliable.
Common mistakes during the trial
Four mistakes account for most disappointing trials:
- Using only demo content. It always looks good. Your own model is the real test.
- Ignoring the limits. Planning to produce final images during a trial that watermarks every render ends in frustration.
- Testing on the wrong hardware. A result on a borrowed laptop does not predict how the team’s workstations will perform.
- Leaving the decision-maker out. If the person who signs off sees the result only after the trial ends, there is no time left to act on their feedback.
Choosing a plan after the trial
Professional suits individual designers, Business adds centralized seat management for teams, and Enterprise covers larger deployments. Aufiero Informática is a KeyShot Gold Partner in Argentina, Brazil, Chile, Colombia, Mexico and Peru, and helps teams in Latin America pick the right plan and keep licenses supported. You can see the options at KeyShot Studio at Aufiero.
Three questions help choose between plans. How many people need KeyShot, and do they need it at the same time? Does the team need centralized control over who uses which seat? And is this a single workstation or a deployment that will grow? The answers point to the plan that fits without paying for capacity that is not used.
If the trial raised more questions than it answered, it can help to read what KeyShot is and how it fits into a production workflow in the KeyShot Studio product visualization pipeline. For a conversation about your own case, contact Aufiero.
Evaluating KeyShot for a team in Latin America? Talk to Aufiero.
Frequently asked questions
Is KeyShot free?
No. KeyShot Studio is sold by subscription, with a free 14-day trial from the manufacturer.
What are the limits of the KeyShot trial?
Renders are watermarked, and saving scenes, background rendering and the rendering queue are disabled.
Does KeyShot run on Mac?
Yes. KeyShot Studio is available for Windows and macOS.
Where can I buy KeyShot in Latin America?
Aufiero Informática is a KeyShot Gold Partner in Argentina, Brazil, Chile, Colombia, Mexico and Peru.
Aufiero Informática is a KeyShot Gold Partner in Latin America.